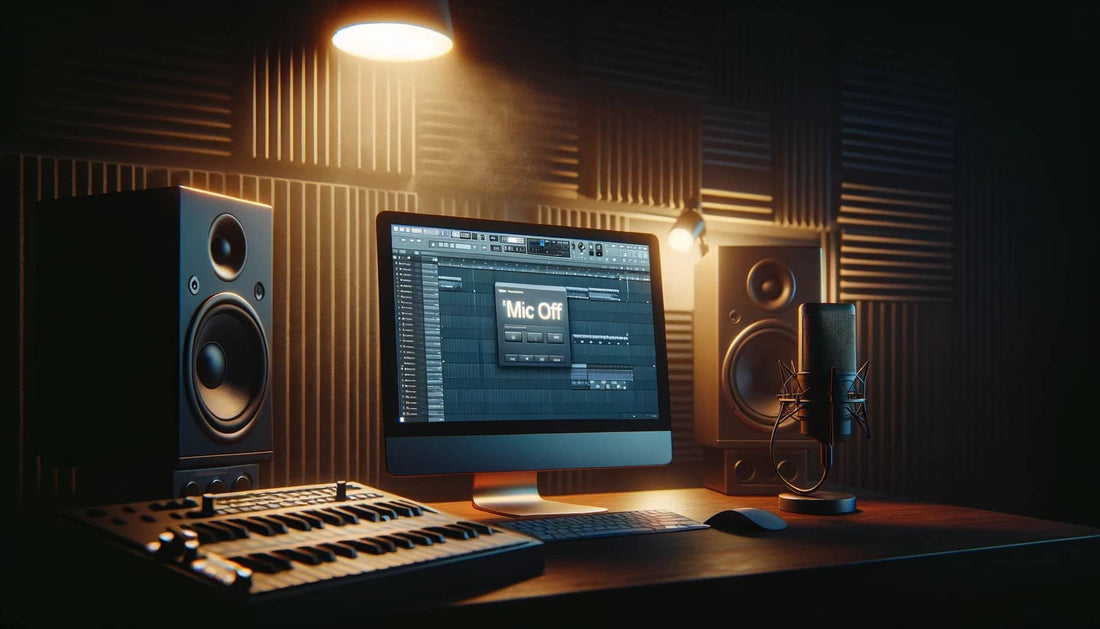
This guide aims to explain how to turn off the microphone in FL Studio 20. Doing this ensures you keep full control over your recording sessions.
Step-by-Step Guide to Turn Off the Mic in FL Studio 21
Accessing the Audio Settings
1. Open FL Studio 21: Start by launching the application on your computer.
2. Navigate to the Audio Settings: Go to the 'Options' menu and select 'Audio Settings'. This will open the audio configuration panel.
Identifying the Microphone Input
3. Find Your Mic in the Mixer: The Mixer is where all audio inputs and outputs are managed. Locate the mixer track that your microphone is routed to.
Disabling the Microphone
4. Turn Off the Mic Input: Click on the mixer track to select it, then look for the input selector (usually found at the top of the mixer track). Click on it and select 'None' or 'Off' to disable the microphone input.
5. Adjust Input Settings if Necessary: If your microphone is still picking up sound, ensure that no other software on your computer is using it. Check the system's sound settings. Make sure FL Studio is the only program that can access the microphone.
Saving the Settings
6. Save Your Configuration: After turning off the microphone, save your settings in FL Studio to ensure they are retained for future sessions.
By following these steps, you can effectively turn off the microphone in FL Studio, giving you control over when and how you record audio.
Moving forward, let's address some common troubleshooting issues that users might encounter.
Troubleshooting Common Issues
Even with a straightforward process, users may face challenges when trying to turn off the microphone in FL Studio. Here are some common issues and their solutions:
- Mic Still On After Disabling: Ensure no other applications are using the microphone. Check your system's sound settings and close or disable access to the microphone for those applications.
- Can't Find the Mic Input in Mixer: Make sure you have the correct audio driver selected in FL Studio's Audio Settings. Some drivers may not display all input options.
- Settings Not Saving: Always click 'Save' in the audio settings after making changes. Settings reset after restarting FL Studio. Check for updates or reinstall the app to fix bugs.
In conclusion, setting microphones in FL Studio is critical. It ensures top audio quality in your music.
Conclusion and Best Practices
Turning off the mic in FL Studio 20 is a simple yet vital task for maintaining control over your audio environment. Follow the steps in this guide. They will ensure your microphone is active only when needed. This will avoid extra noise and interference in your recordings. Remember to regularly check your audio settings, keep your software updated, and refer to the Slime Green Beats eBook on making beats for more tips and techniques on enhancing your music production skills.
Mastering these basic but crucial aspects of FL Studio 20 sets the stage for better recordings and a smoother workflow. It paves the way for pro music creation.
This guide is comprehensive. It should now give you the confidence and knowledge to manage your microphone settings well in FL Studio 21. This will ensure that your studio setup is optimized for the best sound.


