
So, you've finished making your beats and you're ready to get them out there. But wait, how do you make sure they sound good on Spotify, Apple Music, and all the other places people listen? It's not quite the same as it used to be. Mastering beats for streaming platforms means understanding a whole new set of rules. Let's break down how to make your tracks shine in the digital age.
Key Takeaways
- Streaming platforms use loudness normalization, so super loud masters can actually sound worse after processing.
- LUFS (Loudness Units Full Scale) and True Peak are the key measurements to watch when mastering for streaming.
- Each platform has its own loudness target; aim for Spotify's -14 LUFS and Apple Music's -16 LUFS as general guides.
- Focus on preserving dynamics and stereo width, as these are often lost when mastering too loud.
- Deliver high-quality files like WAV or FLAC, and make sure your metadata is correct for easy distribution.
Decoding the Streaming Soundscape: Mastering Beats for the Digital Age
Alright, let's talk about getting your beats ready for the wild world of streaming. It's not quite like the old days of CDs and vinyl, where you just slapped your master on a disc and called it a day. The internet changed everything, and now your music has to play nice with a bunch of different platforms, each with its own quirks. Think of it like trying to fit a square peg into a bunch of round holes – you gotta shape that peg just right.
Understanding the Streaming Platform Puzzle
So, what's the big deal with streaming? Basically, platforms like Spotify, Apple Music, and even SoundCloud have their own ways of handling your audio. They use something called loudness normalization to make sure one song isn't blasting your eardrums while the next is barely a whisper. This means how loud you master your track can actually be less important than how it sounds when the platform adjusts it. It's a bit of a head-scratcher, right? You spend hours getting that perfect loudness, only for the platform to potentially turn it down. The goal here is to make sure your track sounds good no matter how it's played back, from tiny earbuds to fancy studio monitors.
Why Traditional Mastering Needs a Remix
Remember mastering for CDs? It was all about making things loud and punchy, pushing the limits to grab attention. That
The Loudness Labyrinth: Navigating LUFS and True Peak
Alright, let's talk about the nitty-gritty of making your beats sound good everywhere. You've probably heard whispers about LUFS and True Peak, and maybe they sound like some kind of secret handshake for audio wizards. But honestly, they're just tools to help your music play back consistently, no matter if someone's listening on their phone speaker or a fancy hi-fi system. Forget the old days of just cranking your track until it hurt your ears; streaming services have their own rules now, and understanding them is key.
LUFS: Your New Best Friend (or Foe?)
So, what's this LUFS thing? It stands for Loudness Units Full Scale, and it's basically a way to measure how loud your track sounds to a human, not just how loud the peaks are. Think of it like this: a quiet passage with lots of bass might register as loud on a LUFS meter, even if its peaks aren't super high. Streaming platforms use this to normalize your music. They have a target loudness, and if your track is too loud, they'll just turn it down. This means mastering super loud doesn't actually make you louder to the listener anymore; it just makes your track sound squashed.
Here's a quick rundown of what most platforms are aiming for:
- Integrated LUFS: This is the average loudness over your entire track. It's the main number streaming services look at.
- Short-Term LUFS: This measures loudness over a shorter period, like three seconds. It gives you a sense of the loudness of different sections.
- Platform Targets: Most major platforms like Spotify and YouTube are aiming for around -14 LUFS integrated. Apple Music is a bit softer, around -16 LUFS. You can find the latest loudness table for 2026 standards to stay updated.
True Peak: Dodging Distortion's Dreadful Dive
Next up is True Peak. This is super important because it measures potential distortion that can happen after your audio is converted from digital to analog, or when it's compressed for streaming. Your DAW might show your peaks are fine, but when it gets processed by a streaming service, those inter-sample peaks can cause clipping and make your track sound nasty. To avoid this, you want to keep your True Peak levels below a certain point, usually around -1 dBTP (decibels True Peak). This gives the encoders a little breathing room.
Platform-Specific Loudness Targets: A Wild West of Watts
It's a bit of a mixed bag out there. While -14 LUFS is a common target, some platforms might have slightly different preferences. The good news is that by mastering to a reasonable LUFS level (say, -14 to -16 LUFS) and keeping your True Peak in check, you'll sound pretty good across the board. Trying to hit a specific target for every single platform can get complicated, and honestly, the difference is often subtle. The main goal is to avoid that over-compressed, lifeless sound that comes from trying to be the loudest thing in the room. Remember, a dynamic track that sounds good at its intended loudness will often translate better than a brick-walled monster that gets turned down anyway.
The biggest mistake you can make is chasing loudness. Streaming services are smart; they normalize everything. If you make your track super loud, they'll just turn it down, and all you'll be left with is a loss of dynamics and potentially some nasty distortion. Focus on making your track sound good and dynamic at a reasonable loudness, and let the platforms handle the rest.
Sculpting Your Sound: Essential Mastering Techniques
Alright, so you've wrestled with loudness targets and dodged the distortion dragon. Now comes the fun part: making your beat sound amazing. This isn't about just turning things up; it's about shaping the audio so it pops on every speaker, from tiny earbuds to massive club systems. Think of yourself as a sonic sculptor, chipping away and refining until you've got a masterpiece.
Frequency Finesse: Painting with the EQ Palette
EQ, or equalization, is your paintbrush. It lets you boost or cut specific frequencies to make your beat sound clearer, punchier, or smoother. Ever heard a track where the bass is muddy or the vocals sound harsh? That's usually an EQ issue. You want to make sure every element has its own space to breathe.
- Low End Rumble: Get that kick drum and bassline working together without clashing. You might need to gently cut some mud from the bass guitar to let the kick's fundamental frequency shine.
- Midrange Magic: This is where most instruments and vocals live. Too much can sound boxy, too little can make things sound distant.
- High-End Sparkle: Add air and detail. Too much can sound harsh and sibilant (think of an overdone 'S' sound), too little makes things sound dull.
The goal is a balanced sound where nothing is fighting for attention.
Dynamic Dominion: Taming the Transients
Dynamics are the loud and soft parts of your music. Compression is the tool that helps control these. It can make a beat sound more powerful and consistent, but go too far and it sounds squashed and lifeless. You're not trying to make everything the same volume; you're trying to make the differences sound good.
- Punch: A little compression can make your drums hit harder.
- Glue: It can help different elements of your mix stick together, sounding like one cohesive unit.
- Control: Tame those sudden loud bits (transients) so they don't jump out unexpectedly.
Remember, compression is like a volume knob that works automatically. You set how much it turns down the loud bits and how quickly it lets things get loud again. It's a delicate balance!
Stereo Sorcery: Crafting the Sonic Stage
This is all about the width and depth of your sound. Do you want your beat to feel wide and epic, or intimate and focused? Using stereo imaging tools, you can place elements in the stereo field – some things can be dead center, while others can be panned left or right.
- Center Focus: Kick drum, bass, and lead vocals usually sit in the middle for maximum impact.
- Width: Synths, pads, or background vocals can be spread out to create a sense of space.
- Depth: Reverb and delay can make sounds feel further away or closer.
Don't just pan everything hard left or right; think about creating a balanced and interesting soundstage.
Platform Playbook: Tailoring Your Beats for Success
Alright, so you've wrestled your track into submission, made it sound like a million bucks in your studio. Now what? You gotta get it onto Spotify, Apple Music, and all those other places people actually listen to music. And guess what? They all have their own little quirks. It's not just about making it loud anymore; it's about making it sound good wherever it plays. Think of it like packing for different climates – you wouldn't wear shorts to the Arctic, right? Same idea here.
Spotify's Sweet Spot: The -14 LUFS Sweetness
Spotify is the big dog, so you gotta pay attention. They're all about keeping things consistent for their massive user base. This means they use loudness normalization. If your track is way too loud, they'll just turn it down. And when that happens, all the hard work you did to make it punchy can get squashed. The general vibe for Spotify is to aim for around -14 LUFS. It’s not a hard rule, but it’s a good target. Keep your True Peak below -2dB too, just to avoid any nasty clipping.
Apple Music's Audiophile Appeal: A Slightly Softer Touch
Apple Music is a bit different. Some folks think it's for the more discerning ear, maybe because they offer lossless options. Their target is a little softer, usually around -16 LUFS. This means you might have a bit more breathing room to keep your dynamics intact. It’s a good idea to check your master against this target too, especially if you’re aiming for a wider dynamic range. It’s like they’re saying, "We appreciate a bit of subtlety here."
Beyond the Big Two: SoundCloud, TIDAL, and More
Don't forget about the rest of the crew! SoundCloud is still a go-to for many artists, and while it's a bit more of a free-for-all, keeping things reasonably loud but not distorted is still smart. TIDAL, on the other hand, is known for its high-fidelity focus. They might be more forgiving of slightly lower loudness levels if it means preserving more dynamic range and detail. Each platform has its own personality, and understanding these differences helps you make sure your track sounds its best, no matter where someone stumbles upon it. It’s all about making sure your music gets heard the way you intended.
The key takeaway here is that one-size-fits-all mastering is kinda dead. You need to be aware of how each platform handles your audio and adjust your mastering approach accordingly. It’s not about making your track the loudest thing ever; it’s about making it sound good and consistent across the board.
The Final Frontier: File Prep and Delivery Done Right
Alright, you've wrestled with LUFS, dodged distortion, and sculpted your sonic masterpiece. Now comes the part where you actually get your music out there. Think of this as the final polish before your track hits the digital shelves. It’s not just about hitting 'upload'; it’s about making sure your hard work sounds as good as possible, no matter where someone hits play.
Codec Conundrums: Lossless vs. Lossy Liberation
So, what's the deal with file formats? You've probably seen WAV and FLAC floating around. WAV files are like the pristine, uncompressed original. They're big, but they hold all the audio data. FLAC, on the other hand, is a lossless format. It's like a super-efficient ZIP file for audio – it makes the file smaller without throwing any sound information away. Spotify actually recommends FLAC, which is pretty cool. Most distributors are happy with either, but if you want to keep every last bit of quality, these are your go-to guys. Avoid MP3s for your master files; they're lossy, meaning they chop out audio data to make files tiny, and that's usually not what you want for your final master.
Metadata Magic: Telling Your Story Beyond the Sound
This is where you add the important stuff that isn't the music itself. Think of it like the liner notes for your digital release. You'll want to make sure your track title, artist name, and any other identifying info are spot on. This includes things like ISRC codes (those unique identifiers for your tracks) and the correct track order if you're releasing an album. Getting this right prevents your track from getting lost in the shuffle or, worse, uploaded with the wrong info. It’s a bit tedious, but trust me, it saves headaches down the line.
File Formats: WAV, FLAC, and the Quest for Quality
When you're ready to export, you've got a few choices, and they matter. Here's a quick rundown:
- WAV: The classic, uncompressed option. Great for preserving every detail, but files can be huge.
- FLAC: Lossless compression. Smaller than WAV, but still keeps all the audio data. Spotify likes this one.
- AIFF: Similar to WAV, often used in Apple environments.
Most platforms will accept WAV or FLAC. Stick to the sample rate and bit depth you worked with in your session – don't try to artificially boost them. For example, if you mixed in 24-bit/48kHz, export that. If a platform offers high-res audio, they might be able to use your higher-spec file directly.
Always export your final master with a little headroom. Aim for around -1 dBTP (decibels relative to full scale). This tiny bit of space helps prevent clipping when streaming services re-encode your audio for different formats. It's like leaving a little wiggle room so things don't get squished too much.
Preparing Your Master for the Upload Gauntlet
Before you hit that upload button, do a final check. Make sure your file is named clearly – something like Artist - SongTitle_Master_24-48.wav is way better than Final_Master_V3_ReallyFinal.wav. Double-check that you're uploading the correct version and not a rough mix or a reference track. It’s the last step, but it’s super important for making sure your music gets to listeners exactly how you intended.
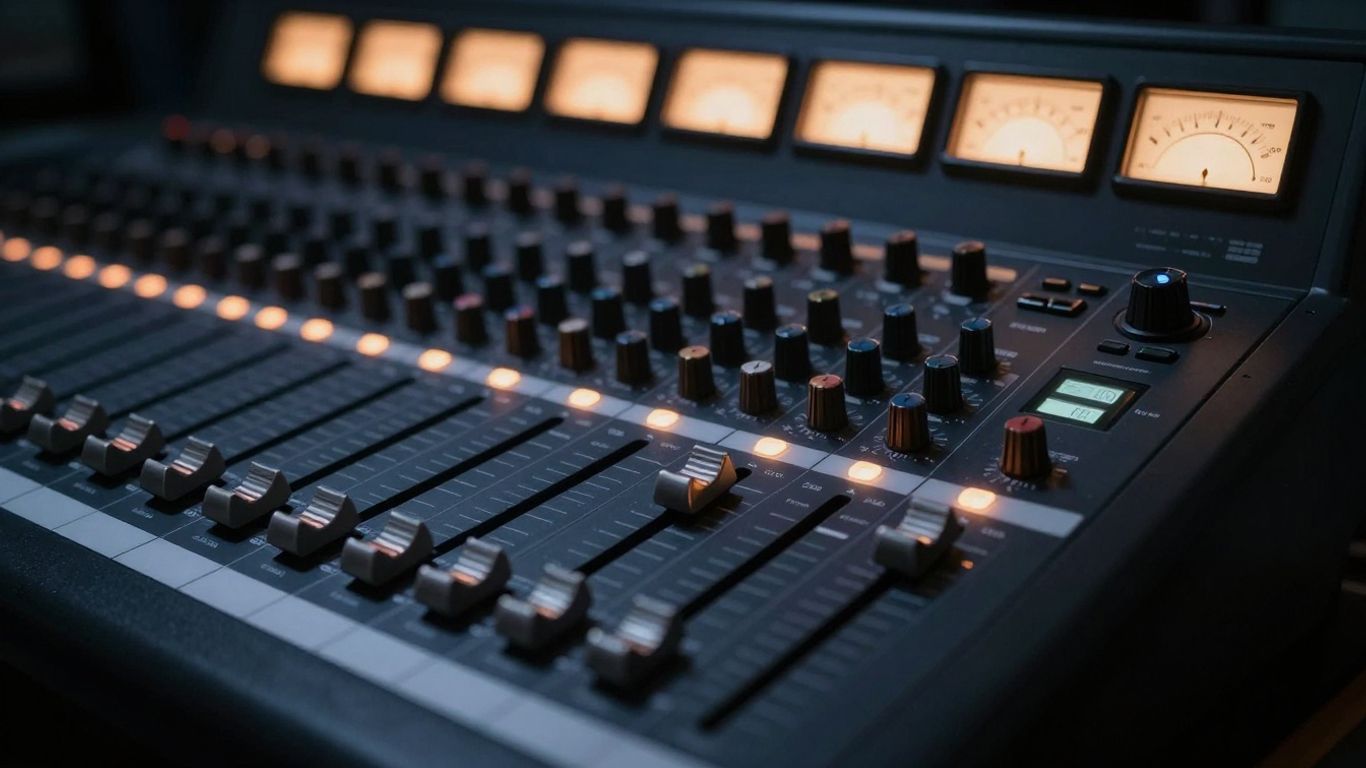
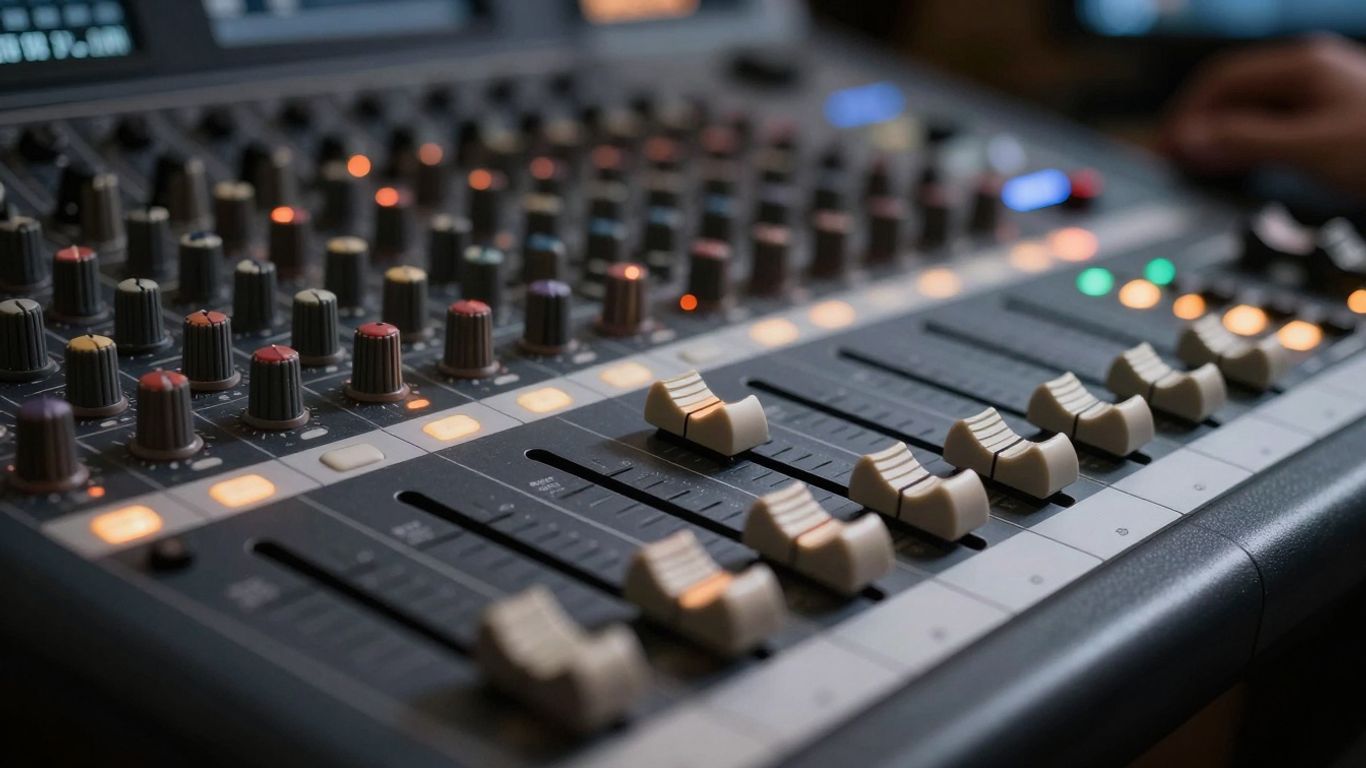
Tools of the Trade: Your Mastering Arsenal
Alright, so you've wrestled with LUFS, dodged True Peak pitfalls, and you're ready to make your beats sound like a million bucks. But how do you actually get there? You need the right gear, and I'm not talking about a fancy studio with gold-plated mic stands (though, hey, if you've got one, nice!). We're talking about the software and techniques that'll turn your rough mixes into polished gems ready for the streaming masses.
Essential Plugins for Polished Productions
Plugins are your digital paintbrushes and sculpting tools. They let you tweak, shape, and refine your audio until it shines. While there are tons of options out there, some have become go-to choices for a reason. Think of them as your trusty sidekicks in the mastering quest.
- iZotope Ozone: This is like the Swiss Army knife of mastering plugins. It's got EQ, compression, limiting, stereo imaging – pretty much everything you'd need, all wrapped up in one package. It's powerful, but can be a bit much if you're just starting out.
- FabFilter Pro-L 2: If you're serious about loudness and limiting, this is your guy. It's known for its clean sound and great metering, making it easier to hit those streaming targets without squashing your track to death.
- Waves Abbey Road Saturator: Sometimes, you just need a little analog warmth. This plugin can add that subtle grit and character that makes a track feel more alive and less sterile. It’s great for adding a bit of vibe without overdoing it.
- Softube Weiss DS1-MK3: This is a high-end digital dynamics processor. It's pricey, but if you're looking for ultimate control over transients and dynamics, this is where it's at. It's the kind of tool that can make a subtle but significant difference.
Loudness Meters: Your Sonic Sentinels
These bad boys are non-negotiable. You can't master for streaming without knowing your LUFS and True Peak levels. These meters are your eyes and ears, telling you exactly what the streaming platforms will hear. Don't even think about uploading without one!
- Youlean Loudness Meter 2: This is a popular free option that gives you a clear picture of your integrated LUFS, short-term LUFS, and True Peak. It's super helpful for seeing how your track stacks up against platform targets.
- iZotope Insight 2: Part of the Ozone suite, but also available standalone, Insight 2 offers a comprehensive suite of meters, including loudness, spectrum analysis, and more. It's like having a whole control room on your screen.
- TC Electronic Clarity M: This is a hardware meter, but it's incredibly useful if you prefer a dedicated physical display. It shows you all the important loudness and metering information at a glance.
Reference Tracks: The Secret Weapon of Sound
Ever wonder how your favorite tracks sound so good on Spotify or Apple Music? They probably used reference tracks during mastering. This is where you compare your master to professionally produced songs in a similar genre. It's like having a cheat sheet for sonic quality.
Here's how you use 'em:
- Pick wisely: Choose tracks that are well-mastered and sound great on streaming platforms. They should be in the same genre as your own music.
- Listen critically: A/B your master against the reference track. Pay attention to loudness, tonal balance, dynamics, and stereo width.
- Adjust accordingly: Use what you hear to guide your mastering decisions. If your track sounds thin compared to the reference, maybe you need to boost some frequencies. If it's too squashed, ease up on the compression.
Using reference tracks isn't about making your music sound exactly like someone else's. It's about understanding the sonic landscape of your genre on streaming platforms and making sure your track fits in while still sounding unique and powerful. It helps you avoid common pitfalls and ensures your music translates well across different listening environments.
With these tools in your belt, you're well on your way to mastering beats that not only sound fantastic but also meet the demands of the streaming world. Happy mastering!
When you're making music, having the right gear is super important. Think of it like a chef needing good knives! We've got all the tools you need to make your tracks sound amazing. Want to check out the awesome stuff we have? Visit our website to see our full collection of beats and start creating!
So, You've Conquered the Streaming Beast!
Alright, you've wrestled with LUFS, dodged True Peaks, and probably questioned your life choices a few times. But hey, look at you! You're now armed with the know-how to get your beats sounding sweet on pretty much any streaming service out there. Remember, it's not about making things deafeningly loud anymore; it's about making them sound good. So go forth, upload those polished tracks, and let the world hear your awesome music. And if all else fails, just blame the algorithm. Kidding! (Mostly.) Happy mastering!
Frequently Asked Questions
What's the big deal with LUFS for streaming?
LUFS is like a volume meter for streaming. Platforms use it to make sure all songs play at a similar loudness. If your song is too loud according to LUFS, they'll just turn it down, and it might sound worse than if you'd mastered it a bit quieter to begin with. It's all about making sure everyone has a good listening experience without jarring volume changes.
Why can't I just make my music as loud as possible?
You might think super loud equals super awesome, but streaming services have a trick called loudness normalization. They'll just lower the volume of your super loud track to match others. When they do this, all the extra compression you used to make it loud can make your music sound flat and lifeless. It's better to keep some dynamic range so your music still has punch after they adjust the volume.
Do I really need to worry about different loudness targets for each platform?
Yes, you do! Each streaming service, like Spotify or Apple Music, has its own preferred loudness level. It's like they have their own 'sweet spot.' While you can often aim for a general target, knowing these specific numbers helps you make sure your music sounds its best and isn't unnecessarily turned down when uploaded.
What's 'True Peak' and why should I care?
True Peak is the absolute highest point your audio signal can reach. If it goes too high, you'll get nasty distortion. Streaming services often encode your music into different formats, and this process can sometimes make peaks even higher. Keeping your True Peak below a certain level, like -1 dBTP, helps prevent your music from sounding distorted after it's uploaded.
How does mastering for streaming differ from mastering for CDs?
Back in the day, mastering for CDs was about making your track as loud as possible because there was no volume adjustment. With streaming, they adjust the volume for you. So, instead of just focusing on loudness, you need to think more about keeping your music dynamic, clear, and making sure it sounds good after the platform potentially changes its volume.
What are the best file formats to send to streaming platforms?
Generally, you want to send the highest quality files you can. WAV files are a safe bet because they don't lose any sound quality. Some platforms also like FLAC, which is a lossless format that's a bit more efficient. Avoid sending heavily compressed MP3s if you can, as they might not sound as good after the platform does its own processing.


