Hey there, music producers! If you're diving into the world of FL Studio, you're probably spending a bunch of time in the piano roll. It's a powerful tool but can be a bit tricky to get the hang of. Whether you're just starting out or looking to refine your skills, I've got some tips to help you master this essential part of music production. Let's break it down and see how you can make the most of the FL Studio piano roll.
Key Takeaways
- Understanding the piano roll interface is crucial for efficient music production.
- Mastering note editing techniques can significantly improve your compositions.
- Utilizing keyboard shortcuts can enhance your workflow and save time.
- Incorporating chords and scales creatively can elevate your music.
- Exploring unique features like the Riff Machine can spark creativity.
Understanding the Basics of FL Studio Piano Roll
Navigating the Interface
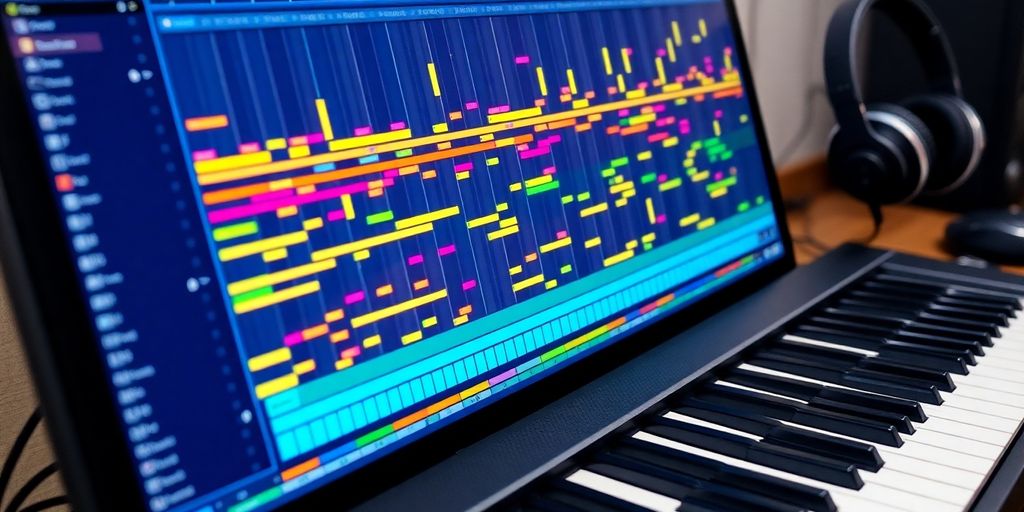
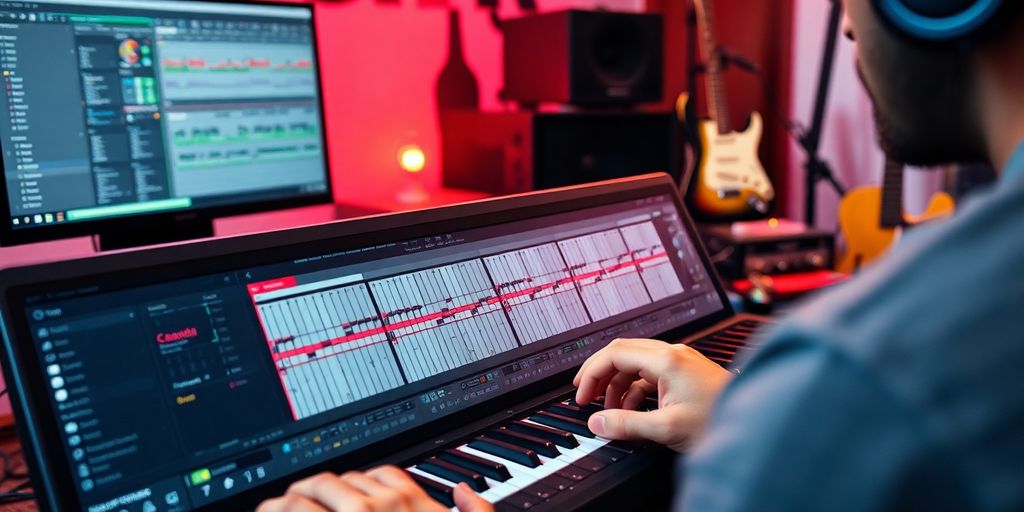
Getting comfortable with the FL Studio Piano Roll starts with understanding the interface. It's like your digital canvas where all the magic happens. The first thing you'll notice is the grid. This is where you'll place your notes. The grid lines help you keep everything in time, and you can zoom in or out to get the perfect view. On the left, you've got your piano keys. Clicking these plays the notes, letting you hear what you're working with. The toolbar at the top is full of handy tools like the Draw, Paint, and Select tools. Each one has its purpose, and knowing when to use which can save you a ton of time. Remember, the right-click is your friend here; it often brings up extra options or deletes notes.
Essential Tools and Features
The Piano Roll is packed with features that can make your life easier. One of the most important tools is the Draw tool, which lets you place notes on the grid. But there's more. The Paint tool is perfect for repeating notes quickly, and the Slice tool helps you cut notes into smaller pieces. Then there's the Stamp tool, which is a lifesaver for adding chords without knowing music theory. Just pick a chord type, and it does the rest. Don't forget about the Quantize feature. This is your go-to for fixing timing issues. Just select your notes and hit Quantize to snap them to the grid.
Customizing Your Workspace
Customizing the Piano Roll to fit your workflow can make a huge difference. Start by adjusting the grid size to match the level of detail you need. You can change this by right-clicking the magnet icon in the toolbar. Another tip is to change the appearance of the piano keys on the left. You can make them look classic or modern, depending on what you prefer. This might seem small, but it can make the interface more comfortable to work with. You can also set up keyboard shortcuts for tools you use often. This might take a bit of time to set up, but it pays off in the long run by speeding up your process. Customizing your workspace helps keep you in the zone and makes producing music more enjoyable.
Advanced Note Editing Techniques
Using Note Properties for Precision
When working with FL Studio's Piano Roll, getting your notes just right is crucial. A good place to start is by accessing the Note Properties panel. This tool lets you fine-tune each note's attributes, including velocity, pitch, and panning. Adjusting these properties can breathe life into your compositions, making them sound more dynamic and expressive.
- Velocity: Controls how softly or loudly a note is played, adding depth to your music.
- Pitch: Allows for micro-adjustments to the note's frequency, perfect for creating harmonies.
- Panning: Shifts the sound left or right in the stereo field, enhancing spatial dynamics.
Mastering the Art of Note Resizing
Resizing notes in the Piano Roll is a breeze once you know the tricks. To resize a note from the beginning, enable the 'Allow resizing from left' option. This gives you the flexibility to adjust the start and end of a note independently, which is especially handy for tweaking rhythms without altering the note's duration.
Here's a quick step-by-step:
- Select the note you want to resize.
- Use the 'allow resizing from left' feature to adjust the note's start point.
- Drag the note's end to the desired length.
Exploring Portamento and Slide Options
Portamento and slide options are unique features in FL Studio that can add a lot of character to your music. Portamento allows notes to glide smoothly from one to another, while slide lets you create a more abrupt transition. These effects are particularly effective in electronic music genres.
- Portamento: Engage this feature by selecting the curved line icon, then draw your notes.
- Slide: Select the triangle icon to enable slide, and apply it to notes for a sharp transition.
Experimenting with these options can lead to some interesting results, adding a signature touch to your tracks. For those interested in exploring similar techniques in other DAWs, you might find it useful to learn how to edit MIDI notes in Ableton's piano roll for precision and expression.
Enhancing Workflow with Shortcuts
Moving Notes Efficiently
When you're in the groove, the last thing you want is to be bogged down by slow note adjustments. Quickly moving notes can be a real game-changer. In FL Studio, using shortcuts like Alt + Arrow keys allows you to nudge notes left or right, making it a breeze to fine-tune your melodies without breaking your flow. For vertical movements, simply hold Shift while dragging the note up or down. This method is perfect for experimenting with harmonies or adjusting note placements within a chord.
Utilizing Keyboard Shortcuts
Keyboard shortcuts are the unsung heroes of any efficient workflow. In FL Studio's piano roll, mastering these shortcuts can save you loads of time. For instance, hitting Ctrl + Q will quantize your notes, aligning them perfectly to the grid. Need to switch channels? A quick Alt + K moves you to the selected channel in the Channel Rack, cutting down on unnecessary clicks. And if you're cycling through channels, Ctrl + K is your best friend. These shortcuts not only speed up your process but also keep your creative momentum going.
Optimizing Channel Selection
Channel selection might seem straightforward, but optimizing it can significantly impact your workflow. Instead of manually clicking through channels, use the handy shortcut Ctrl + L to link selected notes directly to the channel you want. This is especially useful when you're working with multiple instruments and need to ensure everything is in sync. Another tip is to set snapshots in the browser for quick access to your favorite samples or instruments. This way, you can jump between different setups with ease, keeping your creative process smooth and uninterrupted.
Streamlining your workflow with these shortcuts not only saves time but also enhances your overall music production experience. It's all about finding that perfect rhythm in your creative process.
Creative Composition with Chords and Scales
Creating music in FL Studio is like painting with sound, and the Piano Roll is your canvas. Let's dive into how you can use chords and scales to craft compelling compositions.
Using Stamps for Quick Chord Progressions
Stamps in FL Studio are a lifesaver for anyone struggling with chord progressions. They allow you to quickly lay down complex chords without having to remember every note. Here's how you can use them:
- Select the Stamp Tool: In the Piano Roll, click on the stamp icon to open a list of available chords.
- Choose Your Chord: Pick from a variety of options like major, minor, or even more exotic chords.
- Place the Chord: Click on the Piano Roll to place the chord in your sequence.
This method speeds up the process of creating chord progressions, letting you focus more on the overall feel of your track.
Highlighting Scales for Better Composition
Understanding scales is crucial for crafting melodies that resonate. FL Studio's scale highlighting feature helps you stay in key, which is especially useful if music theory isn't your strong suit.
- Access Scale Highlighting: Go to the Piano Roll menu, select 'Helpers', then 'Scale Highlighting'.
- Choose Your Scale: Options range from major and minor to more unique scales.
- Visual Aid: The highlighted notes guide you, ensuring your melody fits within the chosen scale.
This tool is fantastic for maintaining musical coherence, allowing you to experiment with confidence.
Experimenting with Chord Inversions
Chord inversions are a simple yet effective way to add variety to your music. By changing the order of notes in a chord, you can create a different sound and feel.
- Start with a Basic Chord: Lay down a simple triad in the Piano Roll.
- Invert the Chord: Move the lowest note an octave higher or the highest note an octave lower.
- Listen and Adjust: Play back your progression to see how the inversion changes the mood.
Inversions can make your chord progressions sound more interesting and less predictable, keeping your audience engaged.
Tip: Combining these techniques can lead to truly unique compositions. With practice, you'll develop a style that's all your own, making your tracks stand out in the crowded music scene.
Incorporating Rhythm and Dynamics
Chopping and Gluing Notes
Creating rhythmic interest in your tracks can be as simple as chopping and gluing notes. This technique lets you break up long notes into shorter segments or combine short notes into longer ones, giving your music a fresh, dynamic feel. Here's how you can do it:
- Select the Note(s): Highlight the note or notes you want to chop or glue in the Piano Roll.
- Chop the Notes: Use the 'Chop' tool to split the note into smaller, evenly spaced segments.
- Glue the Notes: Conversely, use the 'Glue' tool to merge adjacent notes into one longer note.
Experiment with different combinations to see what works best for your track's rhythm.
Applying the Strum Effect
The strum effect in FL Studio can add a human touch to your music, making it sound more organic. This effect mimics the way a guitarist strums chords, creating a cascading effect across the notes. To use the strum effect:
- Select Your Chords: Choose the chords you want to apply the strum effect to.
-
Activate the Strum Tool: Press
Alt + Sto bring up the strum settings. - Adjust the Parameters: Play around with the strength and tension settings to get the desired strum effect.
This effect can transform blocky chords into smooth, flowing progressions.
Adjusting Velocity for Expression
Velocity adjustment is key to adding expression to your music. It controls how hard or soft a note is played, which can dramatically change the feel of your track. To adjust velocity:
- Open the Velocity Editor: In the Piano Roll, find the velocity control at the bottom.
- Select a Note: Click on the note you want to adjust.
- Drag the Velocity Bar: Move the bar up or down to increase or decrease the velocity.
Adjusting velocity is a subtle but powerful way to bring your music to life, adding depth and emotion to your compositions.
Rhythm and dynamics are the heartbeat of any track. By mastering these techniques, you can create music that truly resonates with your listeners. Remember, it's not just about the notes you play, but how you play them that makes all the difference.
For more on creating effective rhythms and basslines, consider exploring basic music theory concepts for FL Studio.
Exploring Unique Tools and Features

Harnessing the Power of the Riff Machine
Feeling stuck in a creative rut? The Riff Machine in FL Studio is like a magic wand for your musical ideas. It's the ultimate tool for generating fresh melodies and rhythms without breaking a sweat. Just hit Alt + E to bring it up, and you're in a world of possibilities. The "Throw Dice" and "Random" buttons are your best friends here. They shuffle the notes around, sparking new ideas you might not have thought of. Adjust the "Time Multiplicator" knob to tweak the rhythm to your liking. Seriously, give it a try when you need a splash of inspiration.
Utilizing the Arpeggiator
The Arpeggiator is a fantastic feature for adding complexity to your tracks. It takes simple chords and transforms them into intricate patterns. You can find it in the channel settings, and it’s super easy to use. Just set your chord, and the Arpeggiator will break it down into a series of notes, played in a sequence. You can adjust the speed, direction, and range to fit your track perfectly. This tool is especially handy for electronic and dance music producers looking to add dynamic movement to their music.
Randomizing Notes for Creativity
Sometimes, the best way to get creative is to let go of control. FL Studio's randomization feature is perfect for this. By selecting a batch of notes and using the randomize function, you can alter their pitch, velocity, and even pan settings. This is great for adding a human touch to your tracks or coming up with unexpected musical phrases. It’s a bit like shaking up a snow globe and seeing where everything lands. For those who enjoy experimenting and pushing boundaries, this tool is a must-try.
In FL Studio, unique tools like the Riff Machine and Arpeggiator open up endless possibilities for music creation. Embrace these features to infuse your tracks with fresh energy and creativity.
For more on how to mix and create standout beats, check out "How to Mix Beats" by Slime Green Beats. This guide is packed with tips and tricks to elevate your music production skills.
Improving Timing and Precision

Quantizing Notes for Perfect Timing
Getting your notes to fall right on the beat is a game changer for your tracks. Quantizing is your best friend when it comes to tightening up your music. In FL Studio, just hit Alt + Q to bring up the quantize dialog box. Here, you can choose from different templates to match your style. But don't just stick with the default settings; tweak the start time, sensitivity, and duration to get the timing just right. Remember, the snap size in your settings will affect how tightly the notes align to the grid.
Removing Note Snapping for Flexibility
Sometimes, music needs a bit of swing or looseness to feel right, especially in genres like hip hop or jazz. That's where removing note snapping comes in. You don't have to turn off snapping completely; just hold Cmd (or Ctrl on Windows) while dragging your notes. This lets you move them around freely without messing up your usual snap settings. It's a neat trick for adding a human touch to your tracks.
Using the Playback Tool for Review
After laying down your notes, it's crucial to listen back and see how everything fits together. The playback tool in FL Studio is perfect for this. You can access it by selecting the speaker icon or pressing Y. With the pattern paused, hover over different areas and click to hear the notes at that specific point in time. This allows you to pinpoint exactly what's working and what might need a tweak. It's like having a magnifying glass for your music, helping you zero in on both the highlights and the hiccups.
To enhance your timing and precision in music production, start practicing today! Visit our website for tips and resources that can help you create amazing beats. Don't wait—unlock your musical potential now!
Wrapping It Up
So there you have it, a bunch of handy tips to get the most out of FL Studio's Piano Roll. Whether you're just starting out or have been producing for a while, there's always something new to learn. Give these tips a try and see how they fit into your workflow. You might find a new favorite trick or two. Remember, music production is all about experimenting and finding what works best for you. Keep exploring, keep creating, and most importantly, have fun with it. Happy producing!
Frequently Asked Questions
What is FL Studio's Piano Roll?
FL Studio's Piano Roll is a tool for creating and editing musical notes. It's like a digital sheet music where you can place notes to make melodies and rhythms.
How do I move notes in the Piano Roll?
To move notes, select them, then press Shift and the Up or Down arrow keys to move them by a semitone. Use Ctrl for larger moves.
Can I change the look of the Piano Roll?
Yes, you can change the style of the Piano Roll by going to View, then Keyboard Style Settings. Choose from Classic, Modern, Flat, Dark, or List.
What are Stamps in FL Studio?
Stamps let you quickly add chords to your music by choosing a scale and chord type. It's an easy way to make chord progressions.
How do I make my music sound more human?
Use the Strum tool to make notes sound like they're being played on a guitar or piano. It adds a natural feel to your music.
What is the Riff Machine?
The Riff Machine helps you create new musical ideas by generating random patterns. It's great when you're out of inspiration.


